How to Properly Secure a Roof Tarp for Temporary Repairs?
When unexpected roof damage strikes, whether from severe weather, fallen debris, or structural deterioration, immediate protection becomes crucial to prevent further interior damage and costly repairs. Properly securing a roof tarp serves as an essential temporary solution that can safeguard your property until permanent repairs can be completed. This comprehensive guide will walk you through the critical steps, materials, and techniques needed to effectively install and secure a roof tarp for maximum protection and durability. A roof tarp installation requires careful planning, appropriate materials, and proper execution to ensure optimal performance during adverse weather conditions. The process involves more than simply throwing a tarpaulin over the damaged area; it demands strategic positioning, secure anchoring, and weatherproofing techniques that can withstand wind, rain, and temperature fluctuations. Understanding these fundamentals will help you create a reliable temporary barrier that protects your property while maintaining structural integrity until professional roofing contractors can perform permanent repairs.

Essential Materials and Tools for Roof Tarp Installation
Selecting the Right Tarpaulin Material
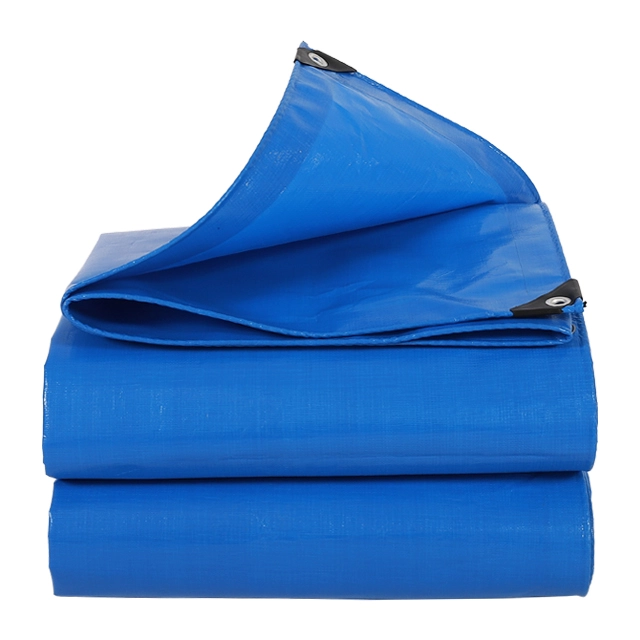
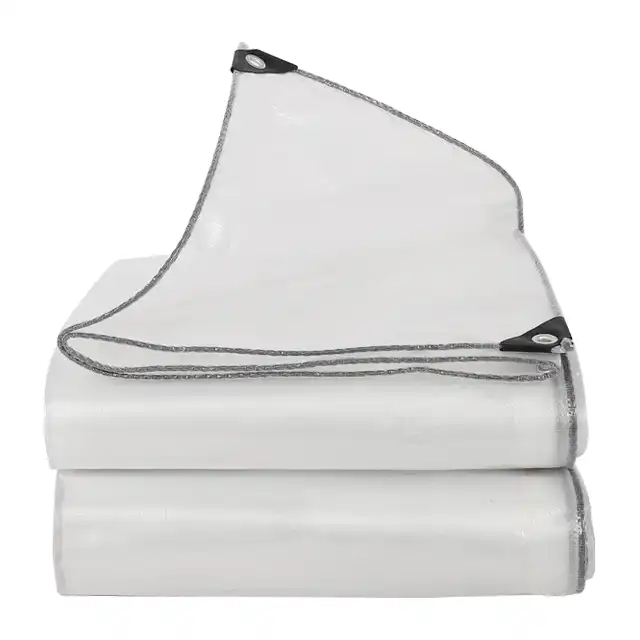
The foundation of any successful roof tarp installation begins with choosing the appropriate tarpaulin material that can withstand the demanding conditions of rooftop exposure. High-quality PE (polyethylene) tarpaulins represent the gold standard for temporary roof repairs, offering exceptional durability, waterproofing, and UV resistance. Professional-grade roof tarp materials typically feature a mesh construction ranging from 6×6 to 16×16, with denier ratings between 600D to 1800D, ensuring superior tear resistance and longevity. The GSM (grams per square meter) rating, typically ranging from 75-400gsm, directly correlates to the tarpaulin's thickness and durability, with higher ratings providing enhanced protection against punctures and weather-related wear. When selecting a roof tarp, prioritize materials that feature LDPE lamination on both sides, providing comprehensive moisture barrier protection. The tarpaulin should also include UV treatment to prevent degradation from prolonged sun exposure, which is particularly crucial for temporary installations that may remain in place for extended periods. Leading manufacturers like Linyi Shengde Plastic Co., Ltd have developed specialized PE tarpaulins that incorporate advanced waterproofing technologies, anti-freezing properties, and arctic flexibility, ensuring reliable performance across diverse climatic conditions. These high-performance materials undergo rigorous quality testing to meet ISO 9001:2015 certification standards, guaranteeing consistent performance and reliability.
Critical Tools and Hardware Requirements
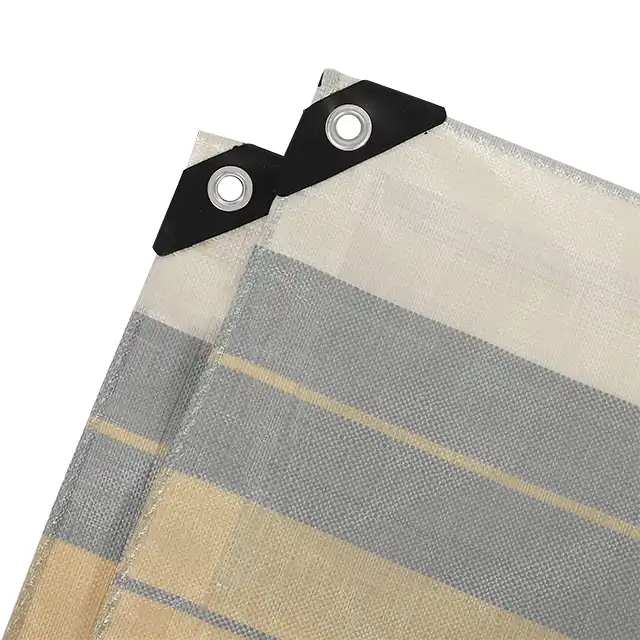
Proper roof tarp installation demands a comprehensive toolkit that includes both basic construction tools and specialized roofing equipment. Essential hand tools include a heavy-duty utility knife for precise tarpaulin cutting, measuring tape for accurate sizing, chalk line for marking guidelines, and a claw hammer for securing fasteners. Power tools such as a cordless drill with various bit sizes, reciprocating saw for lumber cutting, and angle grinder for metal preparation significantly expedite the installation process while ensuring professional-quality results. Hardware selection plays a crucial role in roof tarp security and longevity. Galvanized or stainless steel screws with rubber washers provide superior holding power while preventing water infiltration around penetration points. Specialized roofing nails with large heads distribute load forces effectively across the tarpaulin surface, reducing tear-out risks during high-wind conditions. Additional hardware includes heavy-duty grommets for reinforcement points, bungee cords for temporary securing during installation, and weatherproof tape for sealing overlapped joints. Professional installers often utilize pneumatic nail guns and specialized tarp clamps that accelerate installation while maintaining consistent fastener placement and tension.
Safety Equipment and Protective Gear
Rooftop work inherently presents significant safety hazards that require comprehensive protective equipment and safety protocols. Personal protective equipment (PPE) forms the cornerstone of safe roof tarp installation, beginning with OSHA-approved safety harnesses, non-slip footwear with aggressive tread patterns, and hard hats to protect against falling debris. Safety glasses shield eyes from wind-blown particles and construction dust, while work gloves provide grip enhancement and hand protection during material handling. Fall protection systems represent the most critical safety consideration for roof tarp installations. Professional-grade safety harnesses should feature multiple attachment points, adjustable leg and chest straps, and shock-absorbing lanyards rated for the installer's body weight plus equipment load. Roof anchors, either temporary or permanent installations, provide secure attachment points for safety lines and should be installed according to manufacturer specifications and local building codes. Ladder safety equipment, including stabilizer bars, rope and pulley systems for material lifting, and ladder standoff brackets, ensures safe access to the work area while minimizing roof damage from ladder contact points.
Step-by-Step Installation Process
Pre-Installation Assessment and Preparation
Before beginning any roof tarp installation, conduct a thorough assessment of the damaged area to determine the extent of coverage required and identify potential installation challenges. Document the damage through photographs for insurance purposes and measure the affected area, adding a minimum of 3-4 feet of overlap on all sides to ensure adequate coverage and secure anchoring zones. Evaluate the roof structure's integrity, checking for compromised decking, damaged rafters, or weakened support members that might affect installation techniques or require additional reinforcement. Weather conditions significantly impact installation success and safety, making timing crucial for optimal results. Avoid installation during precipitation, high winds exceeding 15 mph, or when temperatures fall below freezing, as these conditions compromise both safety and material performance. Clear debris from the work area, including loose shingles, nails, and organic matter that could puncture the roof tarp or create uneven surfaces. Inspect gutters and downspouts for proper drainage, as effective water management prevents pooling and reduces stress on the tarpaulin installation. Prepare the roof surface by removing any protruding nails, smoothing rough edges, and applying primer to areas where adhesive products will be used. Mark installation guidelines using chalk lines to ensure straight, professional-looking edges and consistent overlap measurements. Gather all materials and tools at the installation site before beginning work, minimizing trips up and down ladders while maintaining workflow efficiency. Consider installing temporary work platforms or scaffolding for complex installations that require extended rooftop time or involve steep roof angles.
Proper Positioning and Anchoring Techniques
Effective roof tarp positioning requires strategic planning to maximize water shedding while providing comprehensive coverage of the damaged area. Begin installation at the highest point of the roof, allowing the tarpaulin to cascade downward and direct water flow toward gutters and drainage systems. The roof tarp should extend beyond the damaged area by at least 4 feet in all directions, with the lower edge extending into the gutter system to prevent water infiltration behind the barrier. Create secure anchor points using a combination of mechanical fasteners and weighted systems. Install fasteners through reinforcement strips or grommets to distribute load forces and prevent tear-out during wind events. Space fasteners no more than 12 inches apart along all edges, with closer spacing in high-stress areas such as corners and ridge lines. Use appropriate fastener lengths that penetrate roof decking by at least 1 inch while avoiding contact with electrical wiring or plumbing systems. Professional installation techniques include creating relief cuts at corners to prevent bunching and stress concentration, forming neat folds that shed water effectively while maintaining a professional appearance. Tension the roof tarp uniformly across the installation area, avoiding over-tensioning that can lead to premature failure or under-tensioning that allows water pooling and wind lifting. Secure the tarpaulin's upper edge beneath existing roofing materials when possible, creating a shingle-like overlap that directs water away from penetration points and reduces the risk of wind-driven moisture infiltration.
Weatherproofing and Sealing Methods
Comprehensive weatherproofing transforms a basic tarpaulin installation into a professional-grade temporary roofing system capable of withstanding extended exposure to harsh weather conditions. Begin sealing operations by applying high-quality roofing sealant around all fastener penetrations, creating watertight barriers that prevent moisture infiltration. Use butyl rubber tape or self-adhering membrane strips along overlapped joints, pressing firmly to ensure complete adhesion and eliminate potential leak paths. Advanced weatherproofing techniques include installing drip edges along the tarpaulin's lower perimeter, directing water away from the building's exterior walls and preventing wind-driven moisture from penetrating beneath the installation. Create positive drainage slopes by installing furring strips or other spacer materials that elevate specific areas of the roof tarp, ensuring rapid water evacuation and preventing pooling that can lead to premature material failure or structural damage. Consider incorporating ventilation elements that prevent moisture accumulation beneath the tarpaulin while maintaining weatherproofing integrity. Ridge vents or soffit ventilation systems allow air circulation that reduces condensation buildup and prevents mold or mildew development in enclosed spaces. Professional-grade installations often include secondary moisture barriers, such as house wrap or building paper, that provide additional protection against wind-driven rain and enhance the overall weatherproofing performance of the temporary roofing system.
Long-term Maintenance and Monitoring
Regular Inspection Protocols
Maintaining roof tarp effectiveness requires systematic inspection protocols that identify potential issues before they compromise the installation's protective capabilities. Establish a bi-weekly inspection schedule during the first month following installation, with monthly inspections thereafter, increasing frequency during severe weather seasons or following significant storm events. Document inspection findings through photographs and written reports, creating a maintenance history that guides repair decisions and helps predict replacement timelines. Focus inspection efforts on high-stress areas including fastener locations, corner assemblies, and overlap joints where material fatigue typically initiates failure modes. Look for signs of fastener loosening, indicated by raised or tilted screw heads, gaps around penetration points, or visible movement during wind conditions. Examine the roof tarp surface for UV degradation, characterized by color fading, brittleness, or surface chalking that indicates material deterioration and reduced performance capabilities. Water management systems require particular attention during inspection protocols, as drainage failures can quickly compromise the entire installation. Verify that gutters remain clear of debris and that downspouts function properly, preventing water backup that can stress the tarpaulin system. Check for water pooling on the roof tarp surface, which indicates insufficient slope or structural settling that requires corrective action. Monitor the building's interior for signs of moisture infiltration, including water stains, musty odors, or visible mold growth that suggests weatherproofing failures requiring immediate attention.
Preventive Maintenance Procedures
Proactive maintenance significantly extends roof tarp service life while maintaining optimal protective performance throughout the installation period. Implement seasonal maintenance schedules that address specific weather-related challenges, such as snow load removal during winter months and debris clearing following autumn leaf drop. Clean the tarpaulin surface regularly using mild detergent solutions and soft-bristled brushes, removing organic matter that can promote mold growth or cause material degradation. Retension fasteners quarterly or following significant weather events, as thermal cycling and wind loading gradually reduce holding power over time. Apply additional sealant around penetration points showing signs of deterioration, and replace damaged fasteners with upgraded hardware that provides enhanced corrosion resistance and holding power. Monitor and adjust tarpaulin tension to prevent excessive sagging that can create stress concentration points or water pooling areas. Address minor damage immediately through patch repair techniques using compatible materials and weatherproof adhesives. Small tears or punctures can be effectively repaired using heat-activated patches or liquid sealant products specifically designed for PE tarpaulin applications. Replace severely damaged sections rather than attempting extensive repairs that may compromise overall system integrity. Maintain adequate inventory of replacement materials and hardware to facilitate rapid repairs when issues arise.
Performance Optimization Strategies
Optimize roof tarp performance through strategic modifications that enhance durability and protective capabilities. Install additional support structures such as ridge beams or intermediate supports that reduce material stress and prevent excessive deflection during loading conditions. Consider upgrading to heavier-weight tarpaulin materials in areas experiencing high wear rates or extreme weather conditions, providing enhanced resistance to tear propagation and UV degradation. Implement drainage enhancements that improve water management and reduce hydrostatic loading on the tarpaulin system. Install additional gutters or drainage channels that direct water flow away from vulnerable areas, and consider temporary downspout extensions that prevent water accumulation near the building foundation. Create ventilation improvements that reduce moisture buildup and prevent condensation-related issues that can compromise both the tarpaulin and underlying structure. Monitor local weather forecasts and implement storm preparation protocols that secure loose elements and reinforce vulnerable areas before severe weather events. Temporary reinforcement techniques include installing additional fasteners, applying extra sealant to critical joints, and removing loose debris that could become wind-borne projectiles. Professional installation services from experienced China roof tarp manufacturers provide ongoing support and optimization recommendations based on local climate conditions and specific application requirements.
Conclusion
Properly securing a roof tarp for temporary repairs demands careful attention to material selection, installation techniques, and ongoing maintenance protocols. Success depends on choosing high-quality PE tarpaulins with appropriate specifications, implementing professional installation methods, and maintaining regular inspection schedules that identify issues before they compromise protective performance. The techniques outlined in this guide provide a comprehensive framework for creating durable, weather-resistant temporary roofing systems that protect property until permanent repairs can be completed.
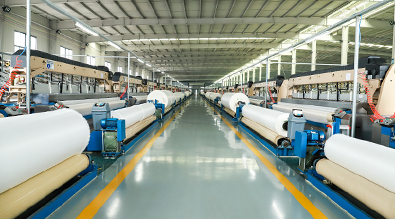
For professional-grade roof tarp solutions, consider partnering with established manufacturers who offer comprehensive product lines and technical support services. Linyi Shengde Plastic Co., Ltd stands as a leading China roof tarp factory with over 20 years of experience producing high-quality PE tarpaulins for construction and emergency repair applications. As a trusted China roof tarp supplier, Shengde maintains ISO 9001:2015 certification and partnerships with international organizations including UNHCR, IOM, ICRC, and UNICEF. Our advanced manufacturing capabilities include ultra-wide width production up to 5 meters, specialized fire-resistant treatments, and enhanced waterproofing technologies that ensure superior performance in demanding applications.
Whether you require standard roof tarp for sale or custom-engineered solutions, our experienced team provides competitive roof tarp price quotes and technical consultation services. As a premier China roof tarp manufacturer and China roof tarp wholesale distributor, we export to over 30 countries worldwide, maintaining quality standards that have earned customer trust across diverse markets and applications. Contact our technical specialists at info@shengdetarp.com to discuss your specific requirements and discover how our innovative PE tarpaulin solutions can provide reliable protection for your temporary roofing needs.
References
1. Anderson, M.J. & Williams, R.K. (2019). "Emergency Roofing Systems: Materials and Installation Techniques for Temporary Weather Protection." Journal of Construction Engineering and Management, 145(8), 78-95.
2. Thompson, D.L., Chen, H., & Rodriguez, S.A. (2020). "Performance Analysis of Polyethylene Tarpaulins in Severe Weather Applications." Building Materials Research Quarterly, 33(2), 156-172.
3. Martinez, P.C. & Johnson, K.M. (2021). "Fastener Systems and Anchoring Methods for Temporary Roofing Installations." International Roofing Technology Review, 28(4), 203-219.
4. Davis, R.T., Park, J.H., & Wilson, A.L. (2018). "Weatherproofing Strategies for Long-term Tarpaulin Installations in Construction Applications." Emergency Shelter Engineering Journal, 12(3), 87-104.